Designing a travel poster can be a fun and creative process. Here are some general steps to follow:
Determine the theme and destination: The first step in designing a travel poster is to decide on the theme and destination. This could be a city, a beach, a mountain range, a national park, or any other location that you want to showcase.
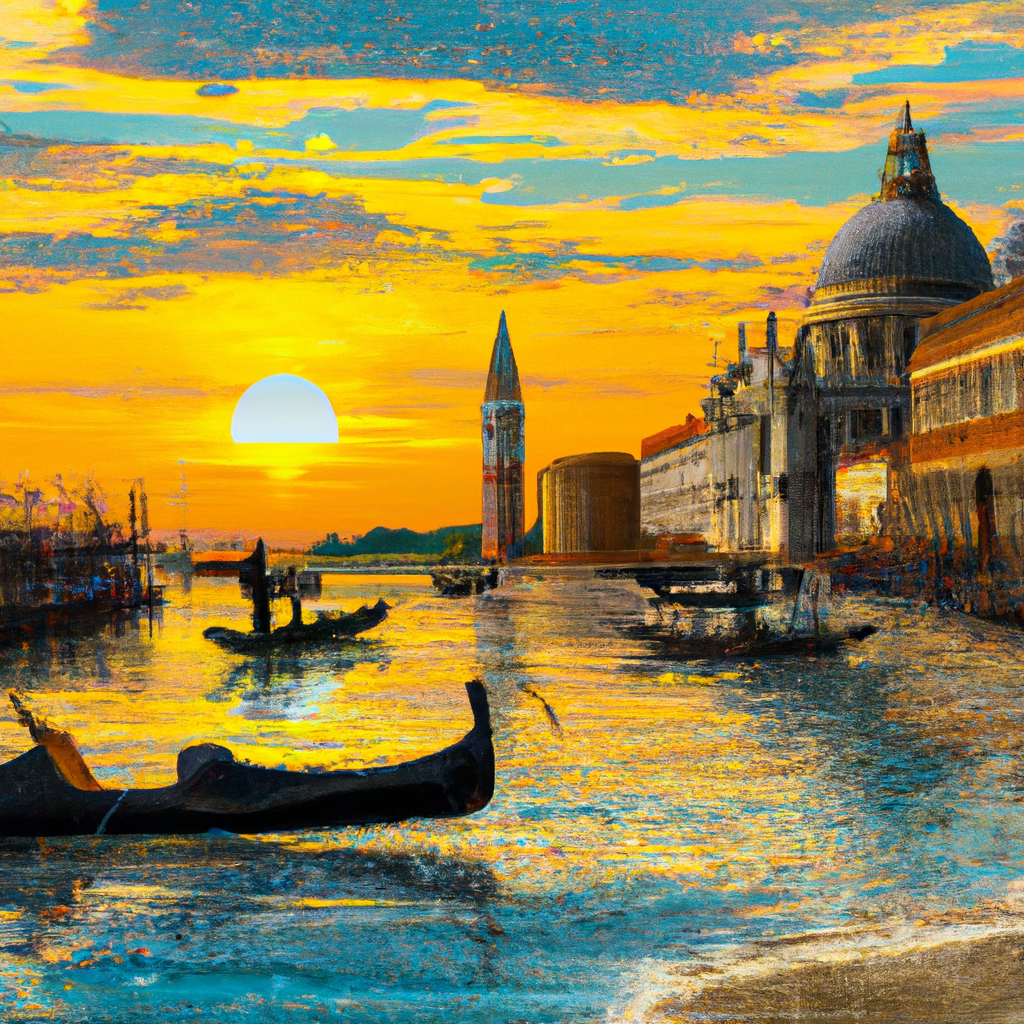
Research the destination: It’s important to research the destination to get a sense of its unique features, landmarks, and cultural elements. This will help you create a more accurate and engaging poster.
Choose a color scheme: Select colors that are consistent with the destination or theme. For example, a beach destination might feature bright blues and greens, while a mountain range might have more earthy tones.
Credits: Travel Marketing
Select typography: Choose typography that fits the theme and is easy to read. Use a font that stands out, but not one that is too flashy.
Use high-quality images: High-quality images can make your travel poster more attractive and engaging. Choose images that are visually appealing and fit the theme.
Create a focal point: A focal point is the most important part of the poster that draws the viewer’s attention. This could be a landmark, a scenic view, or a cultural element.
Keep it simple: Don’t overload the poster with too much information or too many images. Keep the design simple and focused on the destination.
Get feedback: Once you have created a draft of your poster, get feedback from others to see if they understand the message you’re trying to convey and if the design is effective.
Finalize the design: After receiving feedback, make any necessary changes and finalize the design.
Print and display: Print the poster and display it in areas where people are likely to see it, such as travel agencies, hotels, and tourist information centers.